3D models
The 3D models tab provides access to all interactive 3D models available in the app. These models can be placed inside virtual showrooms for viewers to examine, providing a tangible sense of scale and detail for product showcases, design reviews and spatial layouts.
Accessing the 3D Models
- Click the Explorer button at the top of the interface.
- Select the 3D Models tab to open the object overview.
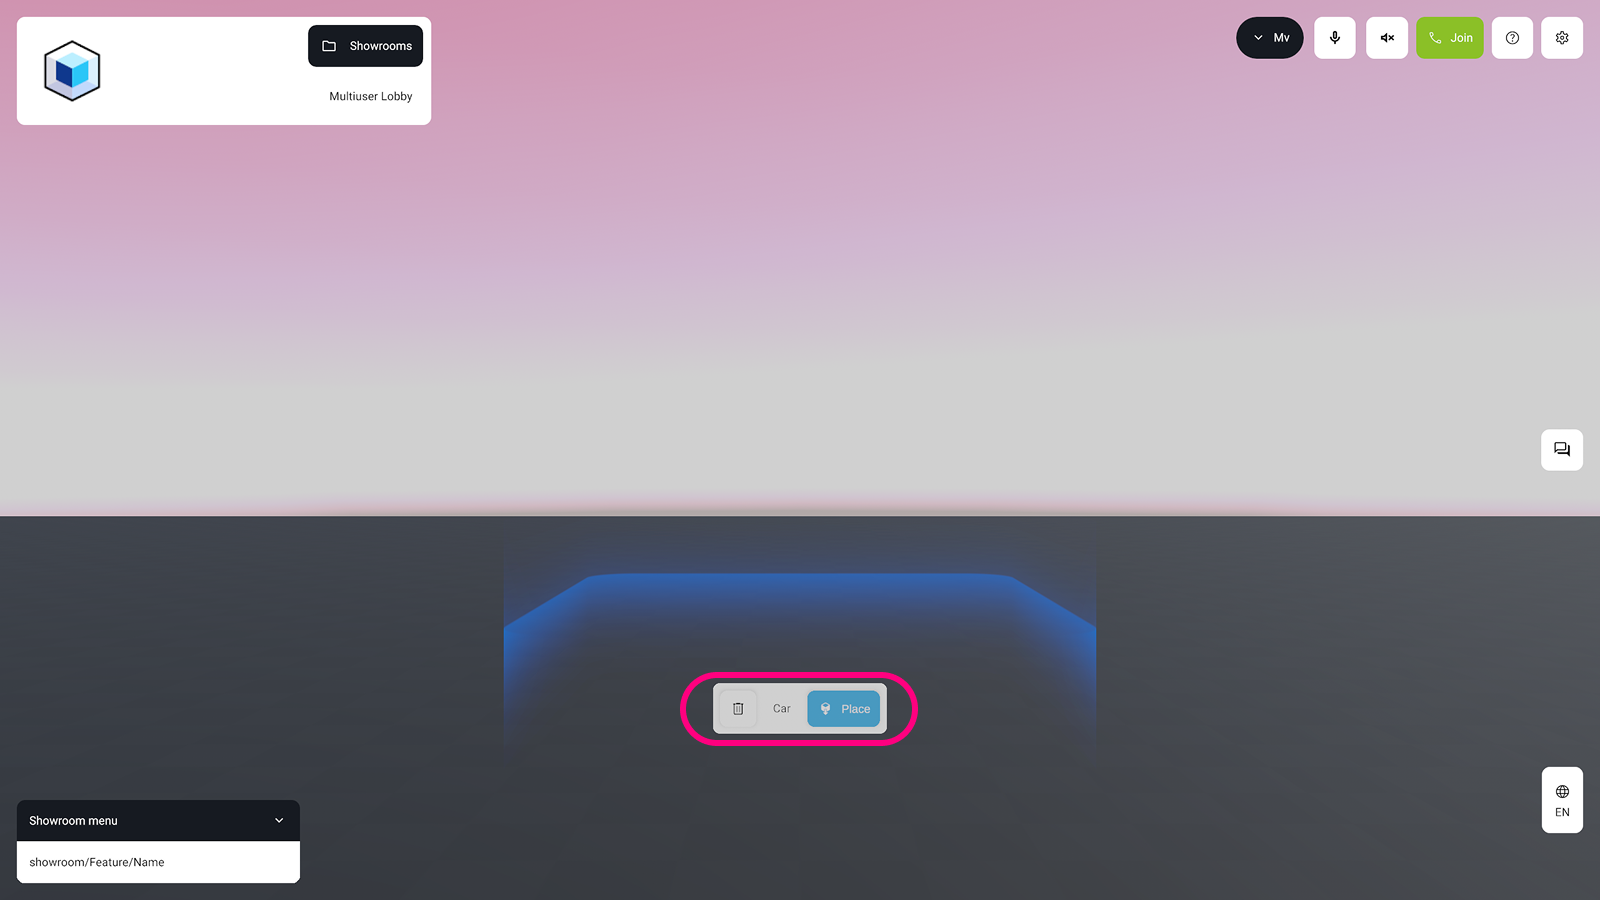
- Choose a 3D model card to activate the placement mode inside your current showroom.
- Use the
Placebutton to anchor the object in the room or click thetrash iconto cancel.
UI Controls
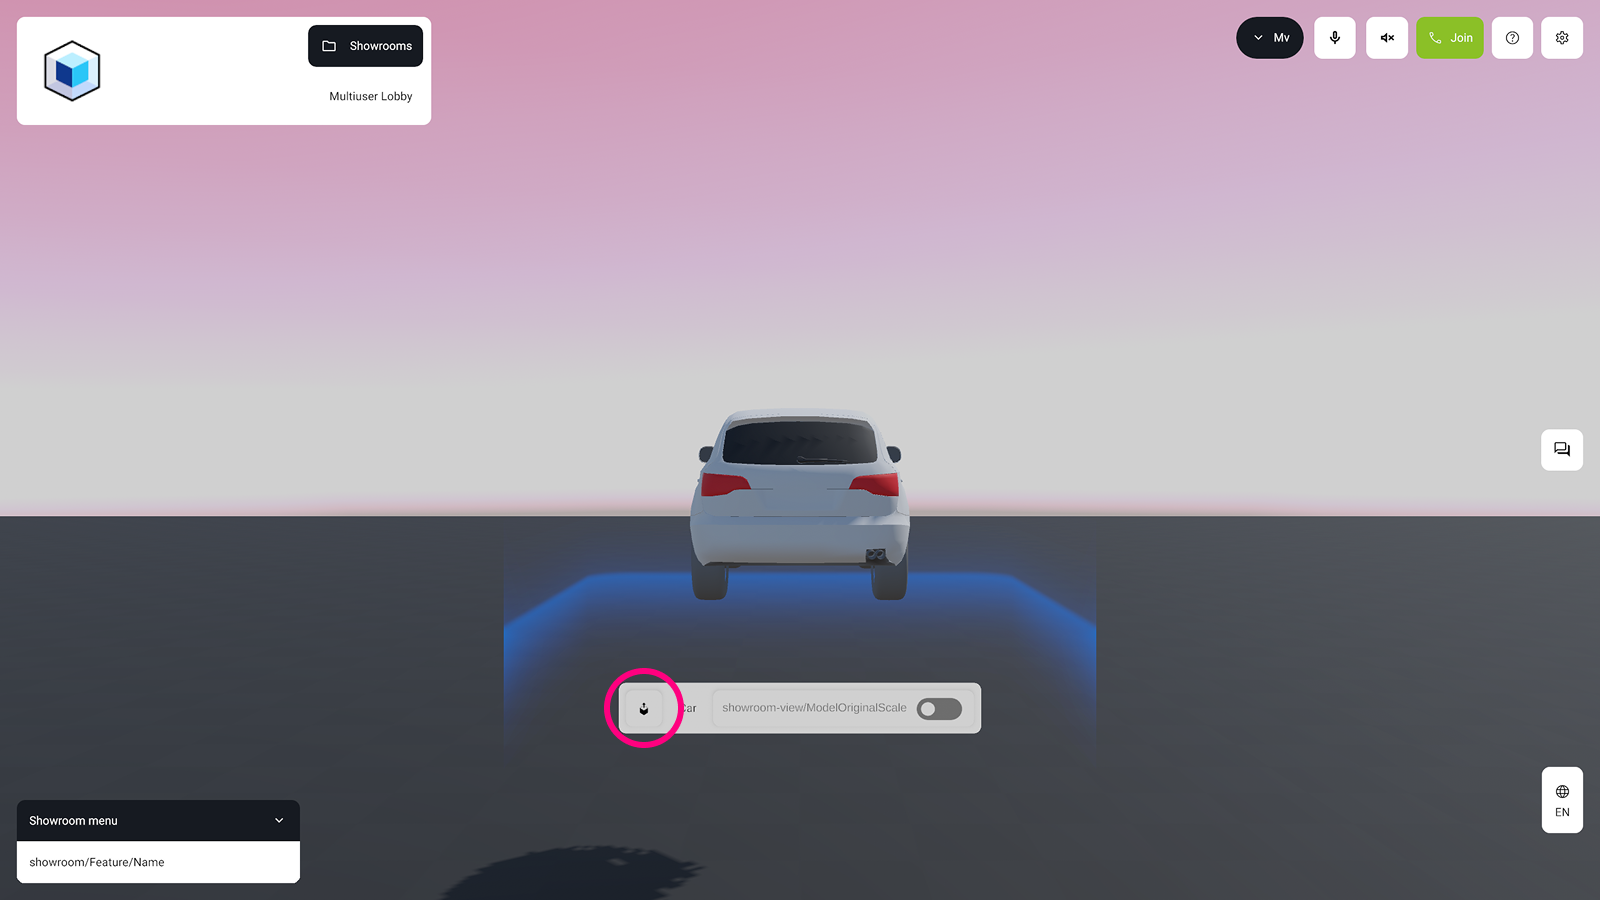
Once a 3D model is placed, it is automatically scaled to fit within an invisible 2x2x2 meter cube. A label appears on the bottom front of the object, which contains all interaction options.
The UI element provides the following features for the 3D model:
- Reposition: Use the
pick up buttonto grab and reposition the model anywhere in the virtual room. - Scale: A
toggle buttonallows you to switch the model between the invisible 2x2x2 meter cube scale and its original scale. - File Name: The name of the 3D model is displayed for easy identification.

Configuration
For instructions on how to upload and configure a 3D Object, see 3D Content in the CMS section.